The Turing robot has three basic functions:
(1) Speech recognition: The speech is recognized as the corresponding text.
(2) Semantic comprehension: Recognize text as a domain-related semantic result.
(3) Speech synthesis: Convert text into speech readout.
To integrate the Turing robot, you must first register with the Turing official website. Here, you'll need to register and follow the steps.
Then create your own robot,
Note here that we have chosen to customize the robot, (qq, WeChat and other robots I only achieved a qq robot, it is very simple, you can download the document according to the steps go ok)
Fill in the information above and download the iOS SDK and integration documentation here. When we walked here, our robot was built.
Because of the figure, the speech recognition of the Turing robot is using Baidu voice, so we also need to go to the Baidu platform for a new project to gain access to Baidu's AppID, APIKey, and Secret Key. For details, please refer to http://yuyin.baidu.com/
Then make a new project integration.
First, first import the dependent Framework:
1. SystemConfiguration.framework 2. Foundation.framework
3. AVFoundation.framework
4. GLKit.framework
5. OpenGLES.framework 6. libz.1.dylib
7. Security.framework
8. CFNetwork.framework 9. CoreLocation.framework
Second, the third party library
The IOS SDK relies on the following third-party libraries (provided in the SDK package, please integrate into the application project)
1. OpenUDID
2. JSONKit
3. TTTAttributedLabel
4. Core AudioUtility (Apple Audio Library)
For projects that use ARC memory management, you need to use the Non-ARC table, OpenUDID, and JSONKit (add -Complete Flags to -fno-objc-arc for the corresponding file).
Third, other matters.
Because the SDK package is implemented in Objective C++, you need to ensure that the extension of the implementation file that references the static library header file in the project must be .mm.
Fourth, iOS9 adaptation problem
First, the http visit.
Add in the plist file:
2. BITCODE issues
Since the underlying Baidu SDK is compiled using the ENABLE_BITCODE mode, applications based on the Turing SDK cannot use the ENABLE_BITCODE mode. As shown below, set bitcode to NO.
Fifth, some other configurations
1, in the Build Setting -> Build Active Architecture Only set to No
2, Build Setting -> Build Options -> Debug Information Format set to DWARF with DSYM File
3, Build Setting -> Build Options -> Enable Testability is set to NO
4, Build Setting -> Linking -> Other Linker Flags Add - all_load
Note : The above configuration is a summary of some of the configurations that I reported during the integration.
Sixth, import SDK
Open the downloaded sdk package to find the SDK Package folder. This folder contains three folders, one is a header file, one is a .a file package, and one is a dependent third-party library as described in the second article above.
Here the three .a files only need to import the last one.
The following code is used:
Demo download address: http://download.csdn.net/detail/qq_34195670/9602252 Â
Github Address: https://github.com/goingmyway1/TuLingRobot
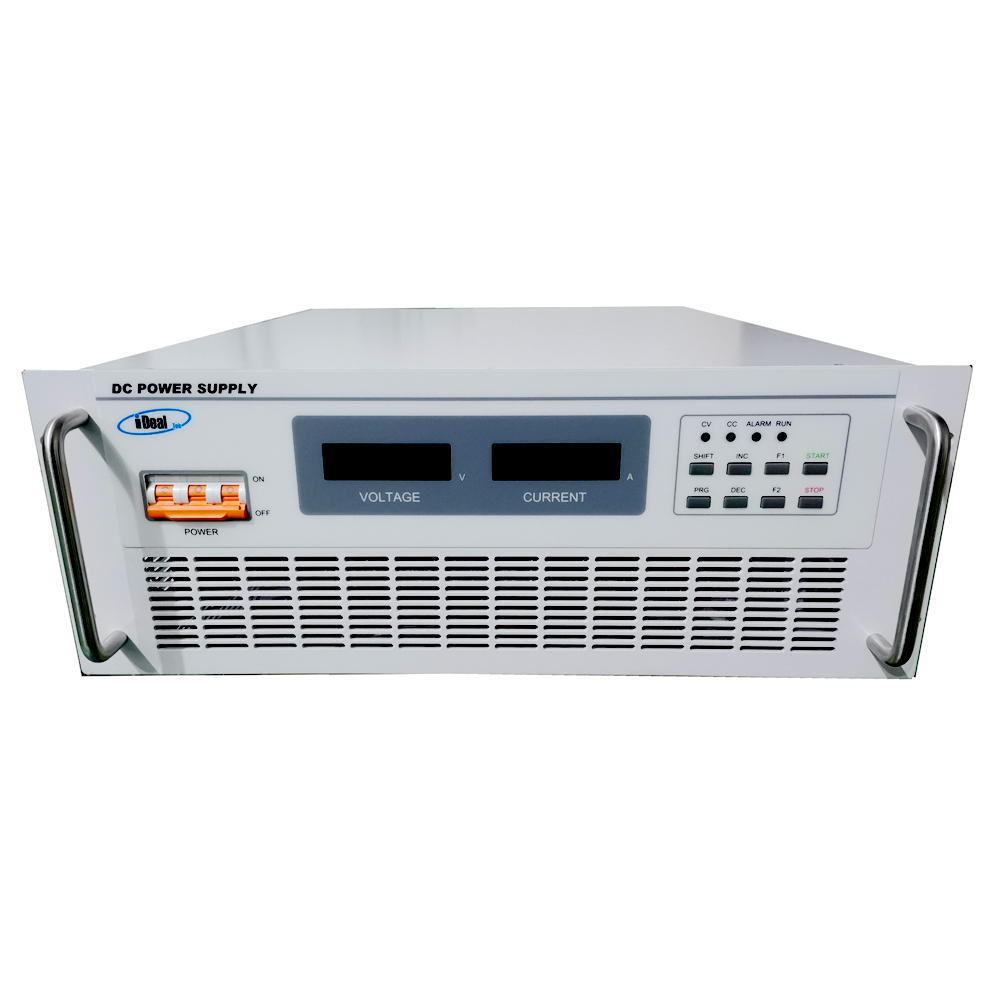
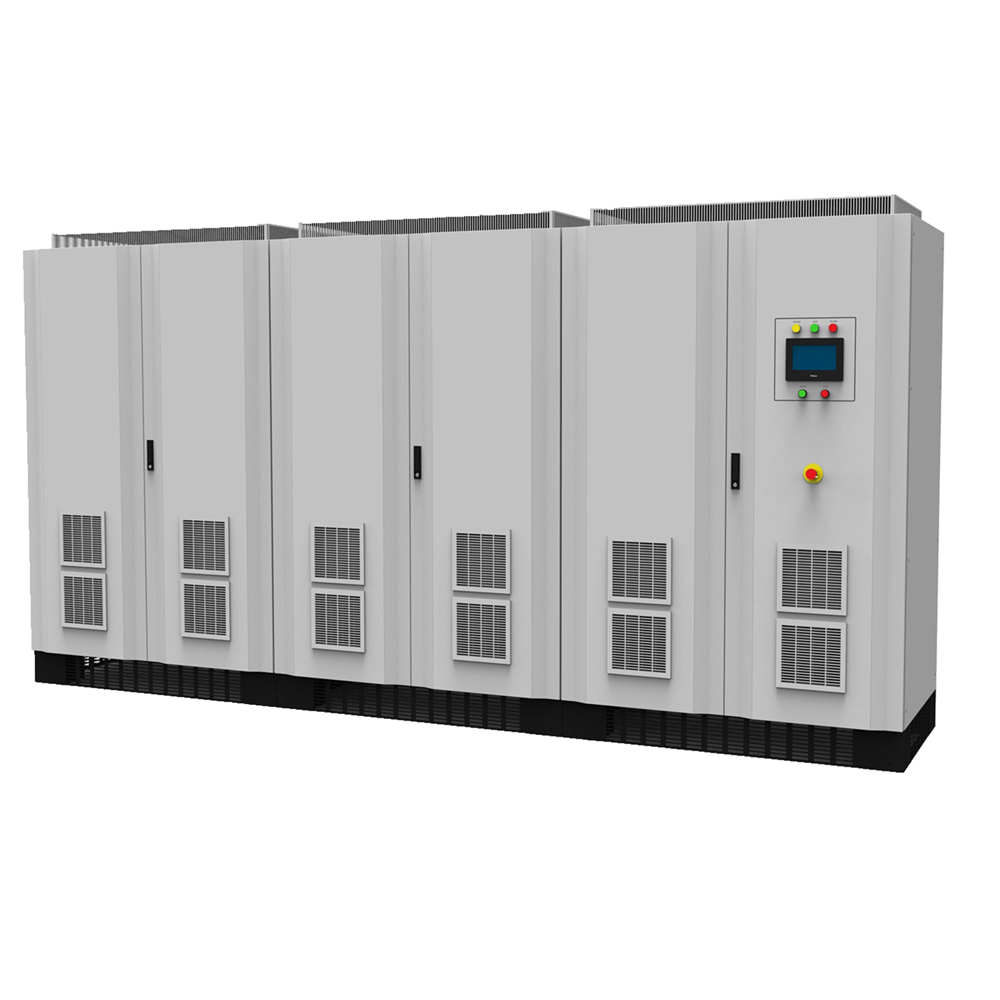
The MTP series DC Power Supplies are High Power DC power supplies developed by iDealTek-Electronics based on IGBT semiconductor components, adopting AC/DC power processing topology with full-bridge phase-shift soft-switching technology. This series of High-power DC power supplies have the most output models and the widest output range in the company's DC power supply series, from 3KW ~ 30KW integrated in 19-inch standard rack-mounted high-precision DC power supplies to 45KW ~ 2000KW with casters or floor-standing Cabinet type High Power DC power supplies, output voltage up to 2000VDC, output current up to 6000A.


This series of High-power AC - DC power supplies are equipped with a reliable two-stage conversion mechanism drive logic circuit and a fast control loop optimized by iDealTek-Electronics. Which balances the requirements of low output ripple and fast DC output response speed, making this series of High-power switching power supplies can provide high-precision, low ripple, high-stability and High-power DC output with fast response speed feature of the switching power supply. All MTP series DC power supplies are equipped with a short-term 2 times rated current overload capacity (Except for some high-current output models) to cope with the inductive and mixed load's demand for high-current output at the moment of starting.
The full range of MTP series high-power DC power supply adopts digital control circuit. You can set and control the power output through the buttons on the front panel of the power supply (3KW ~ 30KW) or LCD touch screen (45KW ~ 2000KW). The high-precision 4 1/2-digit LED (3KW ~ 30KW) or LCD (45KW ~ 2000KW) provides intuitive, high-precision output display and measurement functions. At the same time, the full range of MTP high-power DC power supplies are equipped with RS485 interfaces as standard, following the MODBUS-RTU international communication protocol, which can realize remote control and operating status monitoring of the power supplies.
At present, this series of High Power DC power supplies are mainly used in Battery charging testing, DC motor testing, Photovoltaic inverter testing, and various cutting-edge applications that require High-power DC output.
High-power DC Power Supplies, High Power AC - DC Supplies, High-power Switching Power Supplies, High-power AC DC Supplies, High-power Power Supplies
Yangzhou IdealTek Electronics Co., Ltd. , https://www.idealtekpower.com