The system disk of Win10 is convenient, but the integration level is a bit too high. In fact, it may not meet your requirements. Why not customize one yourself at this time? This tutorial requires a little time for synthesis, and other operations can definitely be done in 10 minutes, which is very convenient. I will share it with you.

First, download the production toolkit prepared by the editor (download address: https://pan.baidu.com/s/1J7CLKI_AMaYW6T7XEL4Lqg) , which mainly includes two application tools, imagex.exe and WimTool.exe (the former is in command line mode), Among them, imagex is also divided into imagex64 and imagex (both can be used).
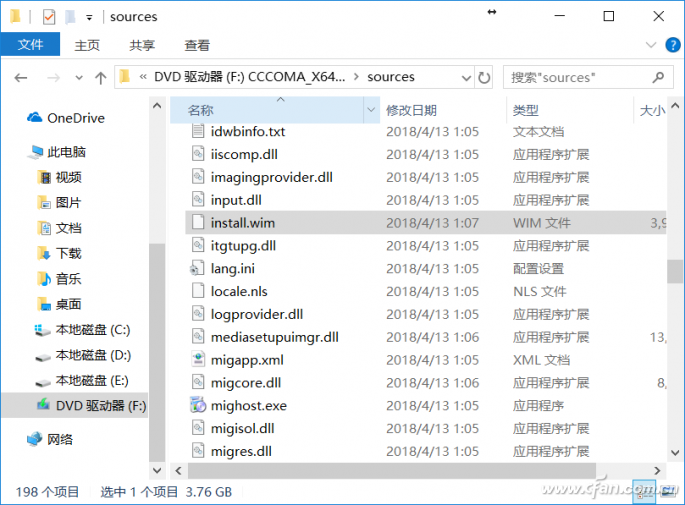
After you prepare the tools, you need to extract the image installation file install.wim-Double-click the downloaded Windows image on Win8/Win10 (Win7 needs to be mounted using the virtual CD-ROM software), in the virtual CD-ROM image file, find the sources folder, install .wim is here.
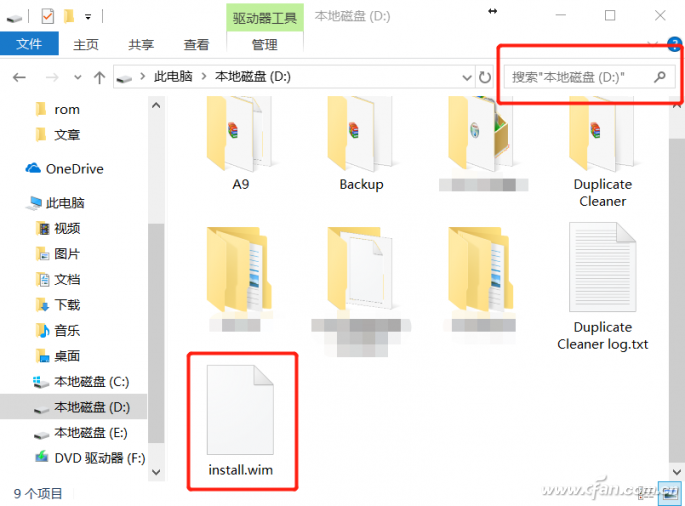
Copy install.wim to the root directory of a certain drive letter, the editor here puts it on the D drive, please change the name after copying, such as WIN10x64.wim and so on.
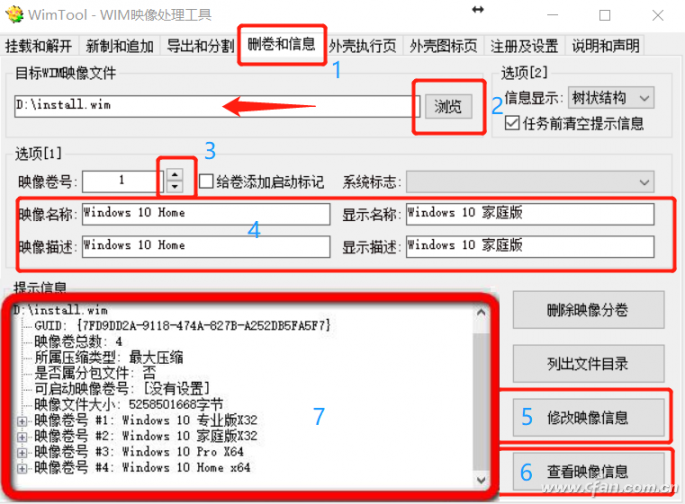
Run WimTool.exe and execute in the order of operations provided in the diagram. The second step is to select the mirrored *.wim file copied to Disk D and renamed. Then, follow the instructions of the editor to check and modify the image step by step. After the image file (such as Win101803.wim) is selected in steps 1 and 2, the image volume number in step 3 will switch to the different version system in the *.wim file. Choose your own After integrating into the system of the new *.wim file, define the name you need at the prompt 4 (it is easy to identify after integrating into the new *.wim file). Note, here must remember the volume number system version to be extracted (step 3)!
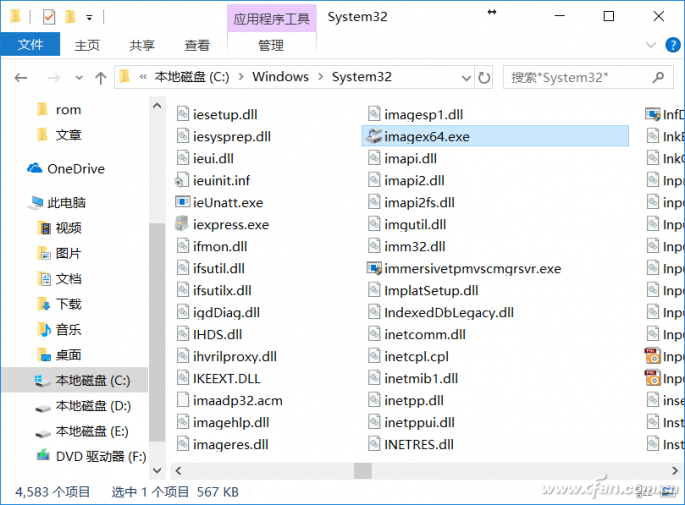
After viewing and modifying WinTool.exe, find the imagex/imagex64.exe that you just downloaded, and copy it to the "Windows→System32" directory of the system disk, for example, the editor is C:\Windows\System32.
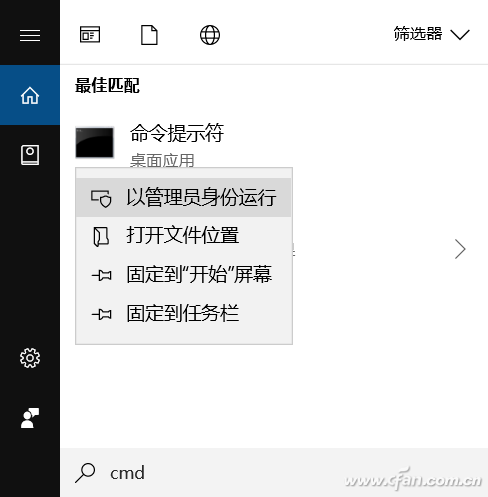
After copying, click the start menu and enter cmd, then right-click "Command Prompt" and select "Run as Administrator".
In the command prompt mode, enter the command imagex64 /export d:WIN10x64.wim 1 d:install.wim /compress maximum. Note that this command editor must specifically say that imagex64 or imagex can be used. This is a question of the choice of the 32/64-bit command symbol tool. Then there is d:WIN10x64.wim, the drive letter is the location after extracting *.wim before, WIN10x64.wim is the object that will be extracted after modifying the name, and d:install.wim is the name of the synthesized image, don’t make a mistake . The combined explanation of this command is to add the system whose volume number is 1 in WIN10x64.wim stored in Disk D to the new install.wim file. If there are more than one that needs to be extracted and synthesized into the new *.wim, continue to input, the difference is the volume number (1).
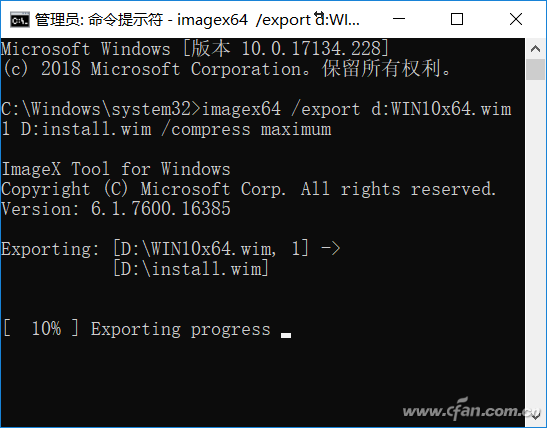
The time to generate a new *.wim file depends on the performance of the computer. After that, find a Win10 system original CD, copy all the files to the USB flash drive (recommended to format in exFAT format), then delete the old Install.wim file in the sources folder, and copy the newly generated Install.wim into it. In addition, if there is EI.CFG in the sources folder, delete it, so a customized Win10 system CD is complete.

Aquarium Wave Makers,Aquarium Wavemaker,Eco Wave Maker,Power Pressure Washer Water Pump
Sensen Group Co., Ltd.  , https://www.sunsunglobal.com